In order to guarantee the very highest quality of Milos welded products, we take the greatest care to test our products to optimize safe usage. In this short article, we would like to demonstrate one of the methods Milos uses to ensure that product safety remains our highest priority.
Metallographic inspection is a very commonly used to complement mechanical property tests in the verification of welded joints. According to the magnification used, metallographic tests are divided into macroscopic and microscopic tests. The tests can be carried out by acid etching, and are used in the detection of the macroscopic or microscopic characteristics of the weld joint.
Macroscopic inspection is carried out by a visual inspection with the naked eye, or with the assistance of a small optical magnification. The inspection is carried out on a test sample taken transversely on the weld line (cross section), which includes the welded metal, the heat-affected zone (HAZ), and the base material.
In the welded joints, macroscopic control offers the basic quality check of the weld. After polishing and etching, the surface of the sample allows an assessment of the quality of the joint (presence of defects), the shape of the weld, the method of laying the weld layers, the connection of individual weld beads, the dilution of the weld metal with the base, and finally the shape and extent of the heat-affected zone.
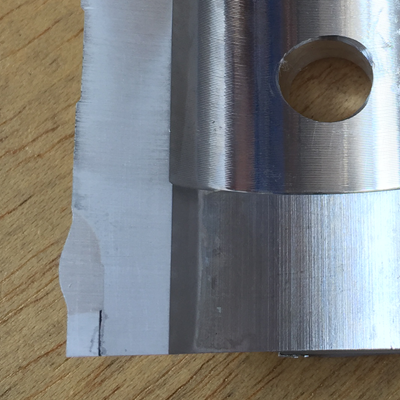
Welded female connector separated from the main tube
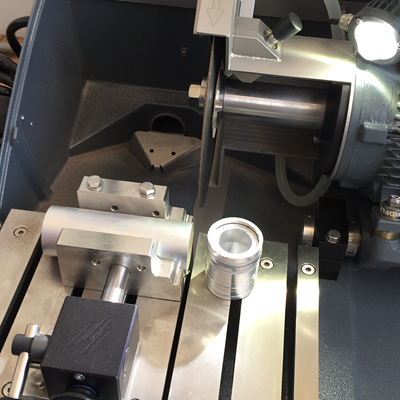
Cross-cut transverse weld
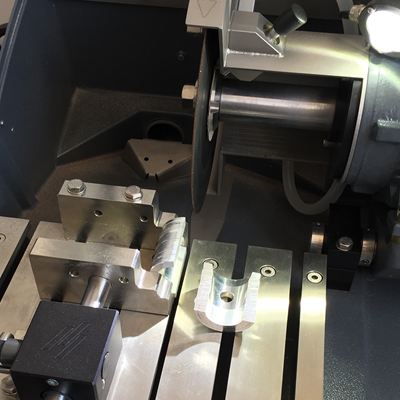
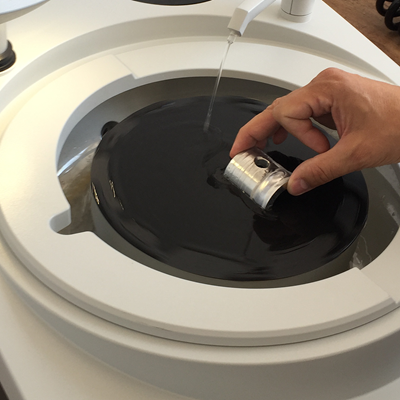
Polishing the weld cut
Etching
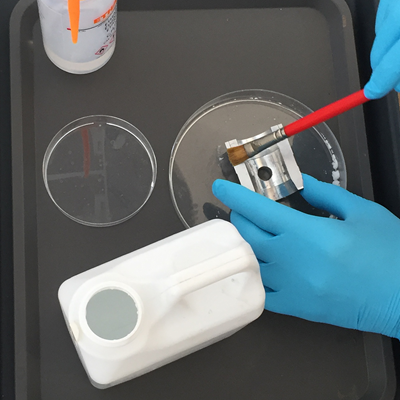
Macro-Etch Testing Piece
Milos, a brand with 25+ years’ experience with fast, flexible, and affordable quality solutions.